How to teach classes using the XSEED SuperTeacher App
Posted
Updated
ByXseed Administrator
The video and step-by-step instructions will guide you through the Student’s View of the XSEED SuperTeacher App to cast or present a lesson onto a screen during your physical or online class.
Step 1
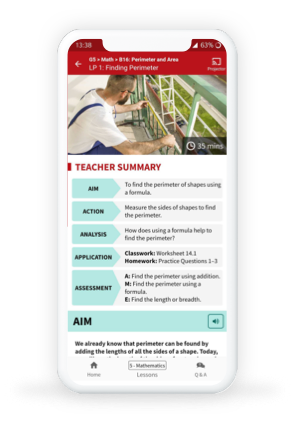
Click on the Projector button at the top right corner, next to the title of the lesson plan.
Step 2
You will see two options: CAST and PREVIEW. Choose PREVIEW for screen-sharing this with your students in an online class over a video conferencing platform. Choose CAST for casting it to a projector or TV in a physical classroom. No matter which option you select, the App will change to landscape mode and show the Student’s View, which breaks the lesson up into slides for students to see.
Step 3
You can go to the next slide simply by swiping.
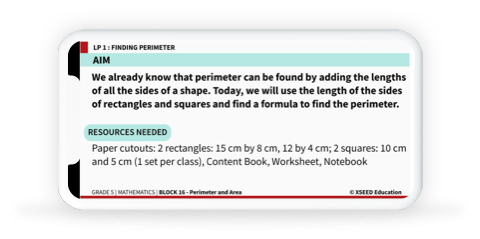
Step 4
After the title slide, you will see the aim of the lesson and resources needed. If you want the app to read out the text for your students, just tap the screen and click on the play button. Tap the screen again and click on pause to pause the voice.
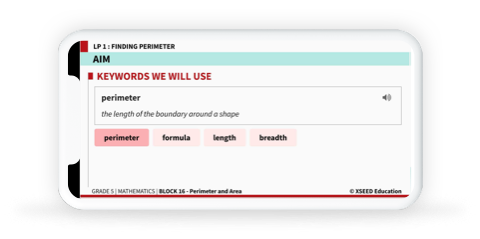
Step 5
Next you can see the keywords. You can click on each keyword to show its definition or click the speaker to hear it pronounced aloud.
Step 6
You can swipe back and forth between slides as needed. Remember, this is the STUDENT’S VIEW and is exactly what students will see during the lesson!
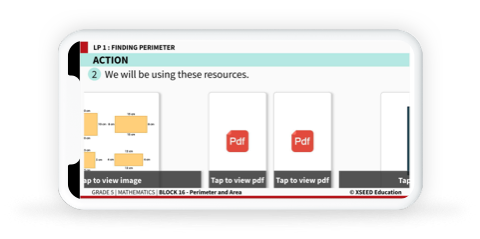
Step 7
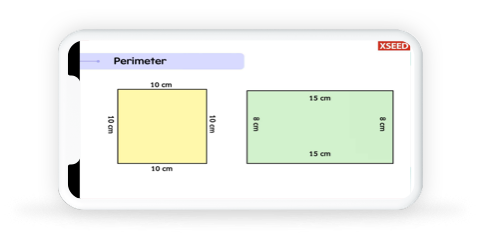
Any image or PDF resource thumbnail can be clicked and opened within the app, and you can zoom in to show students a particular part.
Step 8
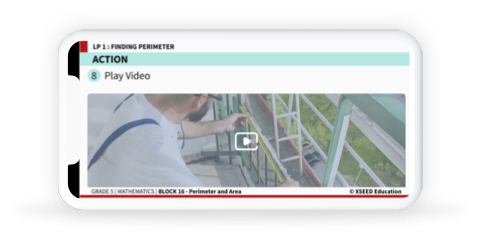
Click on the play button of any video to play it for your students. You can also expand it to full screen. Once the video is over, you can minimize it again.
Step 9
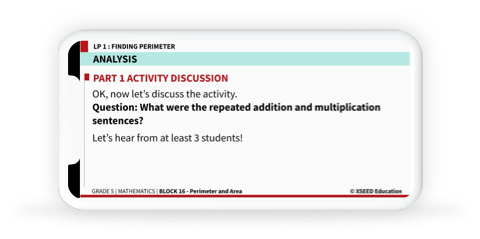
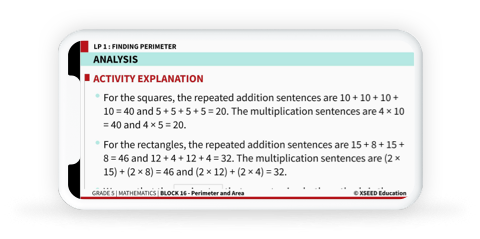
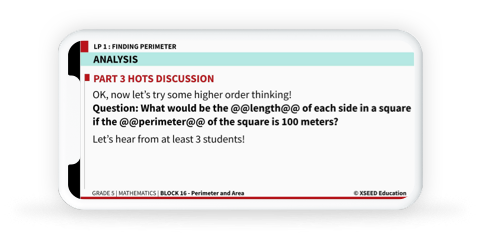
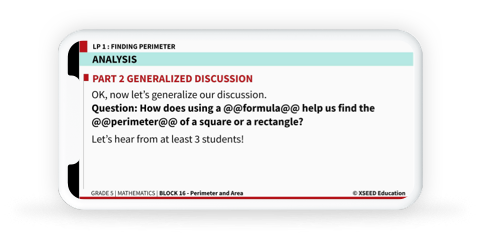
Next is the analysis section, which has each of the 3 key questions on one slide for you to run the 3-level discussion (Activity Discussion, Generalized Discussion, Higher Order Thinking). After each level of discussion, swipe to the next slide for the explanation.
Step 10
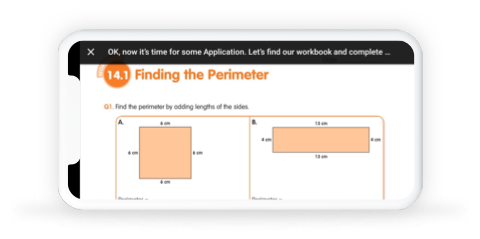
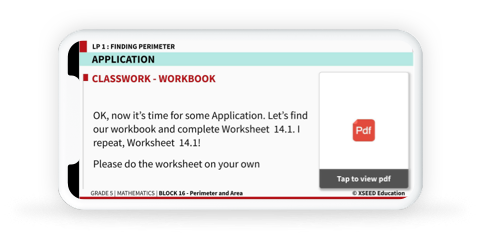
In the Application section, you will find the worksheet. Click on the thumbnail to open it full-screen. You can zoom in and showcase questions to your students one by one as they complete them independently in their workbooks or notebooks.
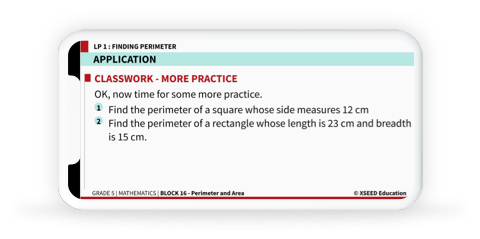
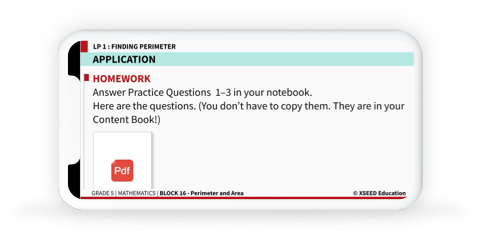
Step 11
Keeping swiping for More Practice and Homework.
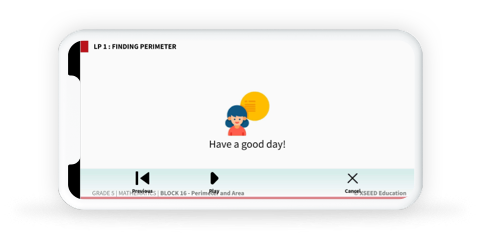
Step 12
Finally, you will see this slide that says, Have a good day!, which marks the end of the lesson. This is when you will typically stop sharing your screen with students. Then, tap on the screen and click the cancel button to come out of Student’s View. This will take you back to the Teacher’s View!